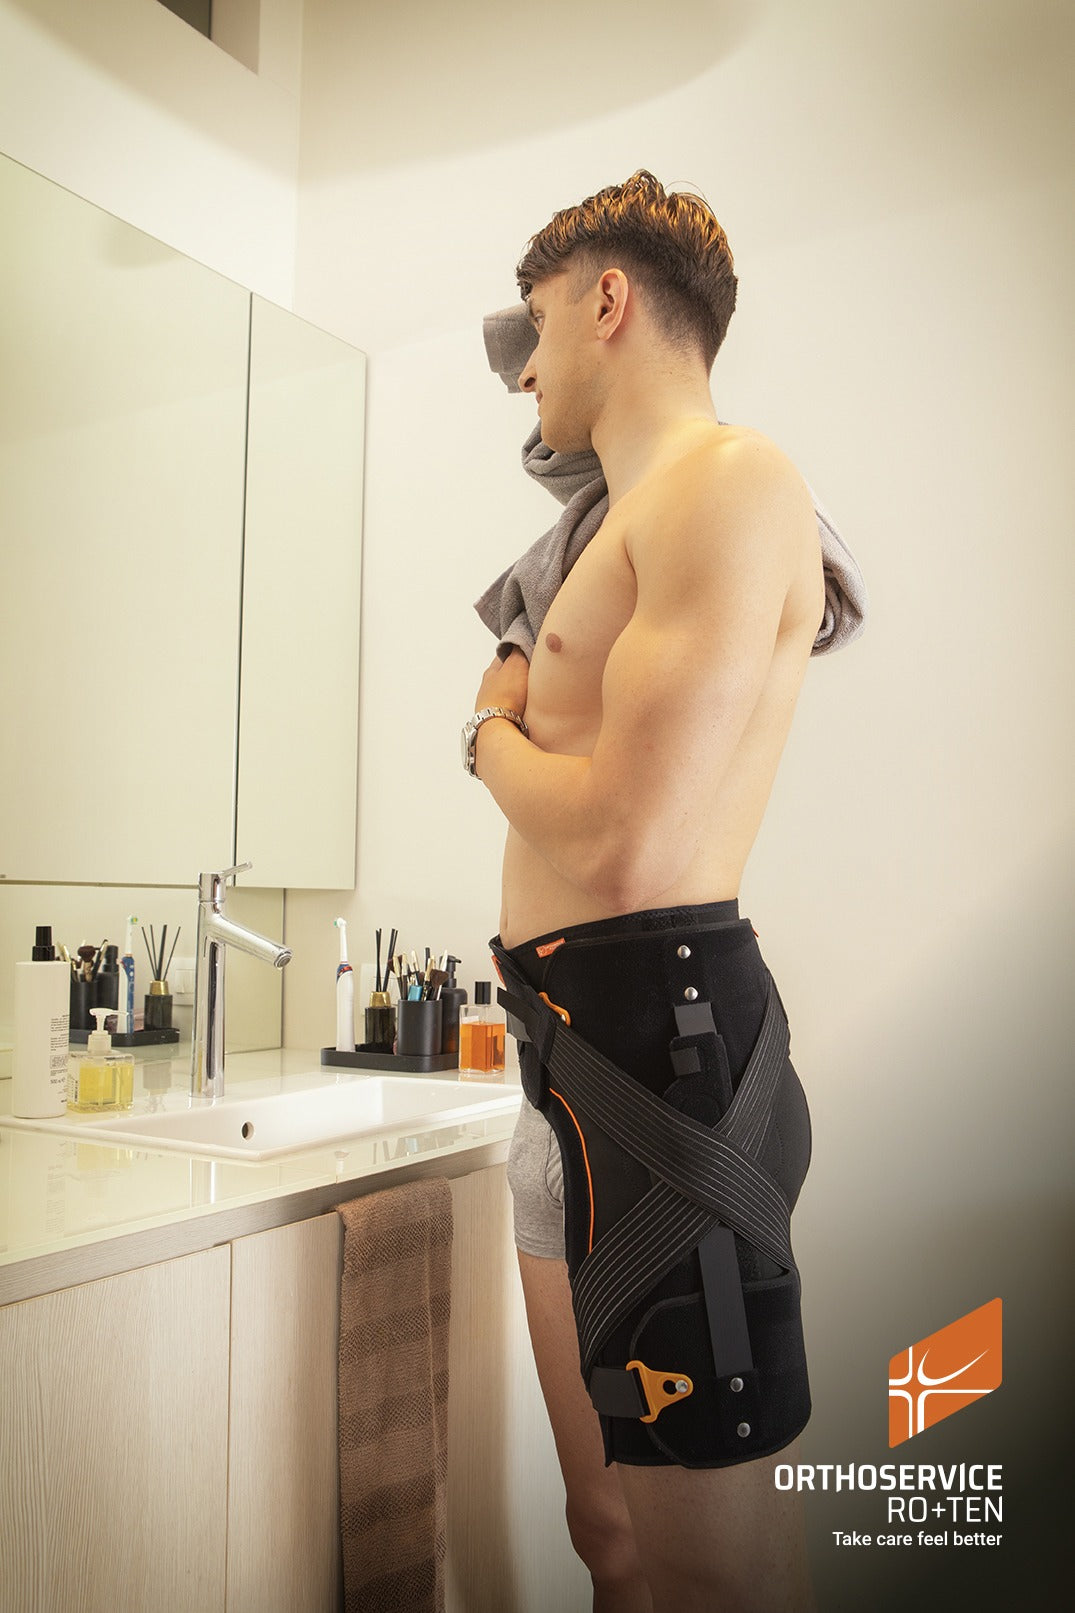
Hip orthosis HIPOCROSS is a special orthopedic device that allows you to rigidly fix the damaged joint in the desired position for the entire period of post-traumatic rehabilitation. At the same time, it relieves the load from the limb, reduces pain, reduces the period of recovery and treatment. Elastic retainers compress the thigh, stabilize the limb, help protect it from injury.
INDICATIONS
Size | S | M | L | XL |
Circumf. pelvis cm | 72/93 | 93/116 | 116/140 | 140/165 |
Circumf. waist cm | 65/84 | 84/109 | 109/140 | 140/170 |
Circumf. proximal | 40/54 | 50/65 | 60/76 | 70/87 |
€319.00
Lightweight hip brace with hinge HIPOCROSS
CHARACTERISTICS AND MATERIALS
• Made of breathable AirX™ fabric.
• Lateral and anterolateral spiral support stays.
• Front Velcro® fasteners.
• Colour-coded Velcro® areas for fastening the straps.
• Elastic calibrated rods, with lateral crossing, for:
– Prevention of excessive adduction
– Partial limitation of flexion-extension
• Gel Insert to prevent oedema
• A rigid bar that locks the joint in flexion and neutral abduction during the initial days following a dislocation
• REF.91007 – Adjustable rod for Hipocross:
– restrict extension (0° to 120° in 10°-increments)
– restrict flexion (0° to 120° in 10°-increments)
– regulate adduction.
PUTTING ON THE APPLIANCE FIRST APPLICATION
1 Position the brace on the hip with the vertical Velcro facing outwards along the median of the body (fig. A)
2 Fasten the Velcro® pelvis strap, checking that the fabric is stretched out properly (fig. B)
3 Fasten the Velcro® thigh strap; hold the loop at the end of the strap if this is easier and check that the fabric is
stretched out properly (fig. C)
4 Attach the elastic straps on the lower parts of the pelvis (blue – fig. D) and thigh (orange – fig. E).
5 Cross the elastic straps at the sides (on the trochanter) and fasten: fasten the strap with the orange tip at the front on
the pelvis (opposite iliac crest) (fig. F); fasten the strap with the blue tip on the thigh (fig. G). The fit can be tightened or
loosened using the hooks at the front and back.
6 Use the bar provided to lock the flexion and abduction of the joint in the neutral position; attach the bar to the side strip
with Velcro® and fasten the straps provided around the thigh and pelvis. (fig. H)
REF.91007
7 To use the adjustable rod REF.91007, attach it with Velcro® to the side strip (fig. I)
8 Fasten the straps around the thigh and pelvis (fig. L-M)
9 The elastic straps can also be fastened over the stay as described above for a tighter fit (fig. N)
ADJUSTMENT OF THE JOINTS
10 Extension adjustment (fig. O)
11 Flexion adjustment (fig. P)
12 This washer (fig. Q) can be turned so that the respective wedge (fig.R) locks in the adjusted flexion-extension setting
13 Hole (fig. S) for the screw provided (to hold the wedge in place)
SETTING THE ADDUCTION/ABDUCTION
14 Insert the supplied key into the appropriate seat and rotate until the desired abduction / adduction degree is
achieved (fig. T)
SUCCESSIVE APPLICATIONS
1 Position the brace on the hip with the vertical Velcro® facing outwards along the median of the body (fig. 1)
2 Fasten the Velcro® pelvis strap, checking that the fabric is stretched out properly (fig. 2)
3 Fasten the Velcro® thigh strap; hold the loop at the end of the strap if this is easier and check that the fabric is
stretched out properly (fig. 3)
4 Hold the elastic straps, cross them at the sides and fasten: fasten the strap with the orange tip at the front on the
pelvis (opposite iliac crest) (fig. 4); fasten the strap with the blue tip on the thigh (fig. 5).
COOLING
1 Take the gel cushion out of its velour cover
2 Place the cushion into the freezer at least 2-3 hours prior to its application (note: do NOT put the velour cover in the freezer)
3 While applying, insert the gel cushion in the velour cover.
4 Insert the gel cushion and the velour cover in the special pocket inside the brace (fig. 6).
5 Apply the brace
MAINTENANCE
Do not bleach No chemical cleaning
Do not iron Do not tumble-dry
Washing instructions: hand wash at max. 30° C with neutral soap. Dry away from heat sources.
Dispose of this product and its parts responsibly